
Introduction
You have a beautiful image on your phone or computer. Maybe it is a customer's logo or a cute design you found online. Your Janome machine is ready to stitch, but it keeps asking for a JEF file. Every minute you spend figuring this out is a minute you are not stitching. Learning how to handle Image to JEF File Conversion sounds like a technical chore, but I promise you, it does not have to be.
There are several ways to get from a simple JPG or PNG to a stitch-ready JEF file. Some methods take two minutes. Others take a bit longer but cost nothing. And for those times when you just want it done perfectly without any hassle, there are professionals who handle the whole thing for pocket change. Let me walk you through every option so you can pick the one that fits your time, budget, and skill level.
What Is a JEF File and Why Your Janome Needs It
Let us start with a quick explanation so you understand what you are working with.
JEF is the native embroidery file format for Janome machines. It contains all the stitch-by-stitch instructions your machine needs to recreate your design. Think of it as a recipe. The JPG is a picture of the finished cake. The JEF file tells your machine exactly how much thread to use, where to put each needle penetration, when to change colors, and when to trim the thread.
A regular image file has none of that information. So you cannot just rename a JPG to .jef and call it done. Your machine will reject it immediately. You need to convert the image into actual stitch data, which is a process called digitizing. The good news is that you have several ways to do this, ranging from completely free to professionally perfect.
Method One: Free Online Converters (Quickest, But Basic)
If you are in a hurry and your design is simple, free online converters are the fastest option.
These websites use auto-digitizing technology to turn your image into a JEF file in seconds. You upload your picture, click a button, and download the result. No software to install, no accounts to create.
Here is how it works. Go to a site like MyEditor or ConvertEmbroidery. Upload your image. JPG, PNG, and BMP files usually work. Select JEF as your output format. Click convert. Download the file to your computer. Copy it to a FAT32 formatted USB drive. Plug it into your Janome machine and test.
The whole process takes less than a minute. So why would anyone ever use anything else?
Here is the honest answer. Online converters produce basic results. They work perfectly for simple, high-contrast images like a solid black heart on a white background. For a professional logo with small text, multiple colors, or fine details, the results are often disappointing. The text becomes blobby. The edges look jagged. The colors might not separate correctly.
But for personal projects and simple designs, online converters are perfectly fine. Just keep your expectations realistic.
Method Two: Wilcom TrueSizer (Free Desktop Software, Better Quality)
If you want better quality than online converters but still do not want to spend money, Wilcom TrueSizer is your best friend.
TrueSizer is a free desktop application from the makers of Wilcom Embroidery Studio, which is the gold standard professional digitizing software. It runs on Windows and gives you much more control than a random website.
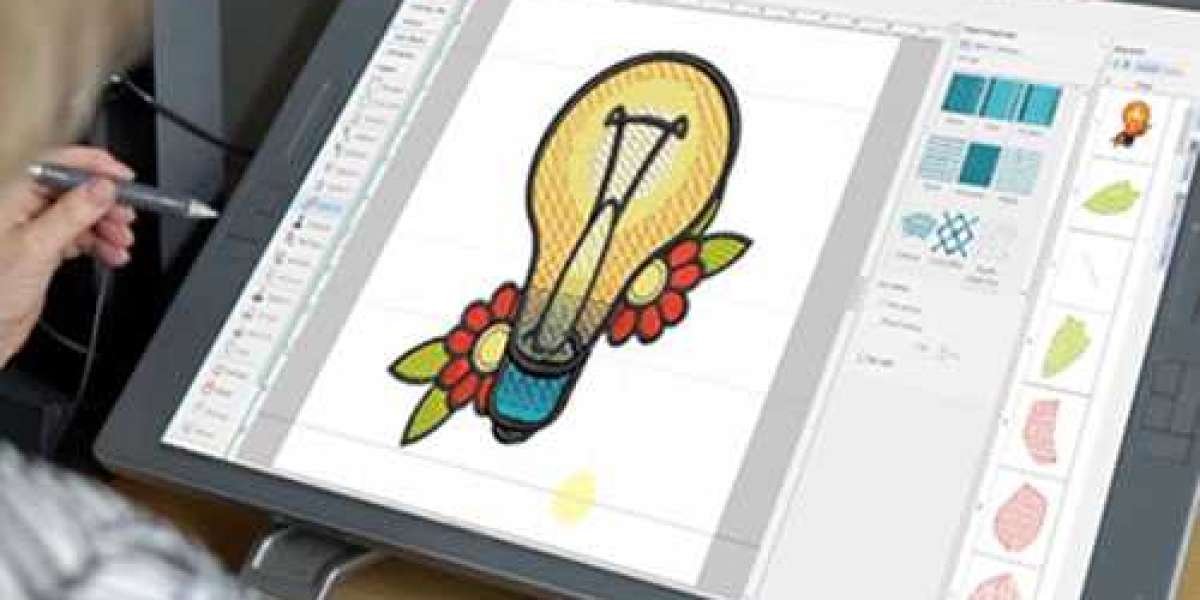
Here is how to use it. Download TrueSizer from the Wilcom website. It is completely free. Install it on your computer. Open the software and click auto-digitize. Select your image file. The software analyzes the image and asks a few questions. Choose your hoop size and the number of colors. Click OK. The software generates stitch paths and shows you a preview. If it looks good, go to File Export JEF. Save the file to your computer.
TrueSizer handles complex images better than online converters because it actually creates proper vector paths before converting to stitches. You still are not getting professional-grade digitizing, but for a free tool, the results are impressive.
Method Three: Ink/Stitch (Free, But Steeper Learning Curve)
For those who want full control and do not mind spending time learning, Ink/Stitch is a powerful free option.
Ink/Stitch is an open-source plugin for Inkscape, which is a free vector graphics program. Together, they give you professional-level digitizing tools at no cost.
Here is the catch. The learning curve is steep. You need to learn how to use Inkscape, then learn how to use the Ink/Stitch extension, then learn how to manually trace your image and assign stitch types. This is not a five minute project. Expect to spend several evenings watching tutorials before you produce your first usable JEF file.
But once you learn it, you can digitize any image exactly the way you want. You control every stitch angle, every density setting, and every underlay parameter. For serious hobbyists or small business owners who digitize regularly, the time investment pays off.
Method Four: SewArt (Budget-Friendly Desktop Software)
If you want better results than free tools but do not want to spend hundreds of dollars, SewArt is a great middle ground.
SewArt costs around sixty dollars and runs on Windows. It includes auto-digitizing features that are more advanced than free online converters. You import your image, adjust a few settings, and the software generates a JEF file. You can also manually edit the results if the auto-digitizing does not get everything right.
SewArt is especially good for converting logos with multiple colors and simple text. It handles pull compensation better than free tools, which means circles stay round and outlines line up correctly. For a one-time purchase under a hundred dollars, SewArt is a solid investment for any Janome owner who converts images regularly.
Method Five: Professional Digitizing Services (Best Results, Low Effort)
Let me tell you the secret that successful embroidery business owners use. They do not digitize their own images. They outsource to professionals.
Here is why this is often the smartest move. A professional digitizer charges between ten and twenty dollars per design. That is not nothing, but compare it to the alternatives. Your time is worth money. If you spend three hours learning to digitize a single logo badly, that is three hours you could have spent stitching and selling. A professional delivers a perfect JEF file in a few hours, ready to run on your Janome machine with no test stitches, no wasted thread, and no ruined garments.
Professional digitizers use software like Wilcom that costs thousands of dollars. They have years of experience adjusting density, underlay, and pull compensation for different fabrics. They know exactly how to handle small text, gradients, and tricky color transitions.
Absolute Digitizing is a trusted name for Janome owners. They export directly to JEF and have experience with all Janome models. Their digitizers manually create every stitch path, so you are not getting auto-digitized garbage. Turnaround is usually two to twelve hours, and pricing starts around ten dollars for simple logos. They also offer free revisions if something is not right.
Digitizing Buddy asks detailed questions about your fabric type and hoop size before they start. That attention to detail saves you from costly mistakes. They also provide a sew-out preview image so you can spot issues before the file reaches your machine.
Cool Embroidery Design offers a free trial for first-time customers. Send them a simple image, and they digitize it at no cost. You test their work on your own machine before spending any money. That is confidence you rarely see in this industry.
When you hire a professional, always ask for the editable EMB file along with your JEF export. That way, you own the full design and can make small changes later without paying again.
Step by Step: Your First Image to JEF Conversion
Let me walk you through the simplest possible method using a free online converter. This will get you a JEF file in under two minutes.
Find your image. For best results, use a simple, high-contrast image with solid colors. A black and white logo works great. A photo of your cat probably will not. Go to an online JEF converter. I have had good luck with MyEditor. Upload your image. Select JEF as the output format. Click convert. Download the file to your computer. Copy it to a USB drive formatted to FAT32. Plug it into your Janome machine. Load the file and test on scrap fabric.
That is it. If the test looks good, you are ready to stitch. If it looks bad, try one of the other methods above.
Which Method Should You Choose
Let me make this simple for you.
Use free online converters if you have a simple, solid-color design and you just need a quick test or a one-off personal project.
Download Wilcom TrueSizer if you want better quality free conversion on your own computer.
Invest in SewArt if you convert images regularly and want more control without breaking the bank.
Learn Ink/Stitch if you have time to learn a powerful free tool and you enjoy having complete creative control.
Hire a professional digitizing service if your logo is complex, contains small text, or will be used for customer work. Ten to twenty dollars is a bargain for professional results and zero hassle.
Common Mistakes to Avoid
Let me save you from the errors I see most often.
Using a low resolution image produces pixelated stitches. If your image is small and fuzzy on screen, it will stitch out small and fuzzy. Start with the highest resolution image you have.
Forgetting to set your hoop size leads to designs that do not fit. Always check your Janome hoop dimensions before converting.
Skipping the test stitch ruins finished garments. Test on scrap fabric with the same stabilizer and thread you plan to use for production.
Assuming all JEF files are the same is a mistake. Some JEF files contain only stitch data. Others include color information. Your Janome may handle them differently. Test first.
Not asking for the editable file when outsourcing locks you out of future edits. Always request the EMB or ART file along with your JEF.
Conclusion
Converting an image to a JEF file for your Janome machine is much easier than you think. You have options for every budget and skill level. Free online converters work in seconds for simple designs. Wilcom TrueSizer gives you better quality at no cost. SewArt offers a budget-friendly middle ground. Ink/Stitch provides powerful free tools for those willing to learn. And professional digitizing services like Absolute Digitizing, Digitizing Buddy, and Cool Embroidery Design deliver perfect results for ten to twenty dollars per design.
Start with the simplest method that fits your needs. Test on scrap fabric before running production. And when your design matters, do not be afraid to outsource to the pros. Your Janome machine is capable of stunning embroidery. Give it a properly converted JEF file, and it will reward you with beautiful results every single time. Now go convert that image.